Konica BizHub
Adding the Konica BizHub printer to your Windows 10 workstation
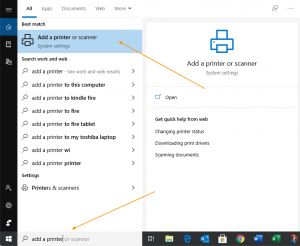
- Click the Windows logo on the lower-left corner of your screen
Then type add a printer
Click Add a printer or scanner
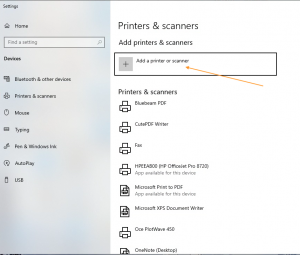
- Click on Add a printer or scanner
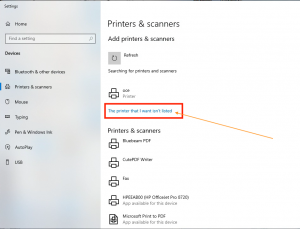
- Wait 10 seconds…
Click The printer that I want isn’t listed once it appears
- Select Add a printer using a TCP/IP address or hostname
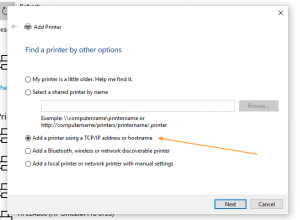
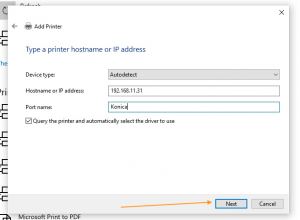
- Leave Device type as is: Autodetect
For Hostname or IP address: , type 192.168.11.31
Leave the Port name to whatever the system named it.
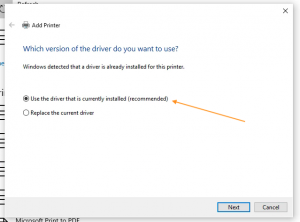
- Select Use the driver that is currently installed (recommended)
- Set Printer name to Konica BizHub

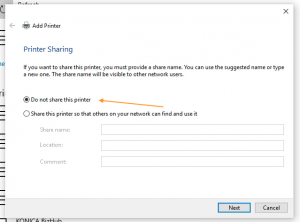
- Make sure Do not share this printer is selected
Then click Next
- Leave Set as the default printer checked
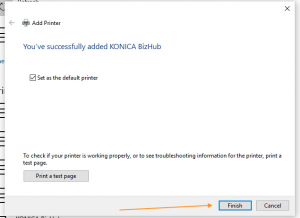
Click Finish
STAY ON THIS PAGE AS WE WILL NOW ADD THE OCÉ PLOTTER
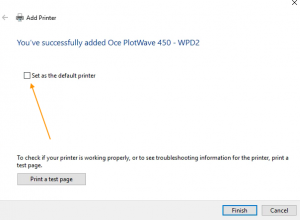
Océ PlotWave 450
- Click on Add a printer or scanner
- Wait 10 seconds…
Click The printer that I want isn’t listed once it appears
- Select Add a printer using a TCP/IP address or hostname
- Leave Device type as is: Autodetect
For Hostname or IP address: , type 192.168.11.30
Leave the Port name to whatever the system named it.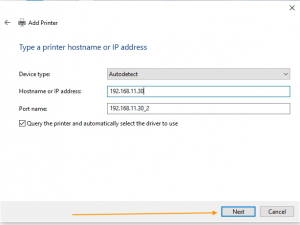
- Click Next
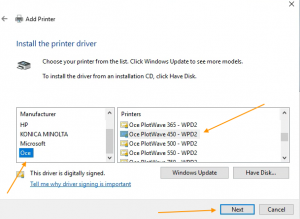
Select Oce on the left
Select Oce PlotWave 450 on the right
Click Next
- Select Use the driver that is currently installed (recommended)
- Click Next

- Make sure Do not share this printer is selected
Then click Next
- Uncheck Set the default printer
Then click Finish